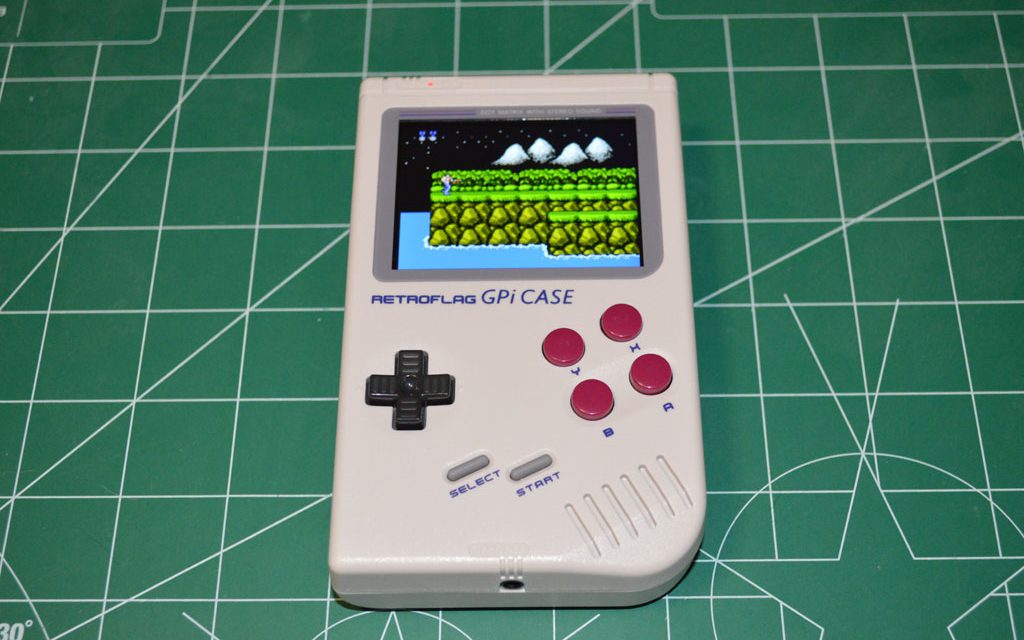
I have been looking for a nice RetroPie case for one of my piZeros for a while now, but they mostly seem pretty clunky. Then I ran across the RetroPie GPi case, which honestly, looked too good to be true. Modeled after a Nintendo Gameboy, but adding 4 more buttons (two shoulder buttons on the back side), and housing the piZero in the faux game cartridge, this looked like a really slick design.
I decided to order one, as the price point was just too good to pass up, and I figured worst case scenario, I could possibly re-purpose some of the components, mainly the screen, for another project if it didn’t work out.
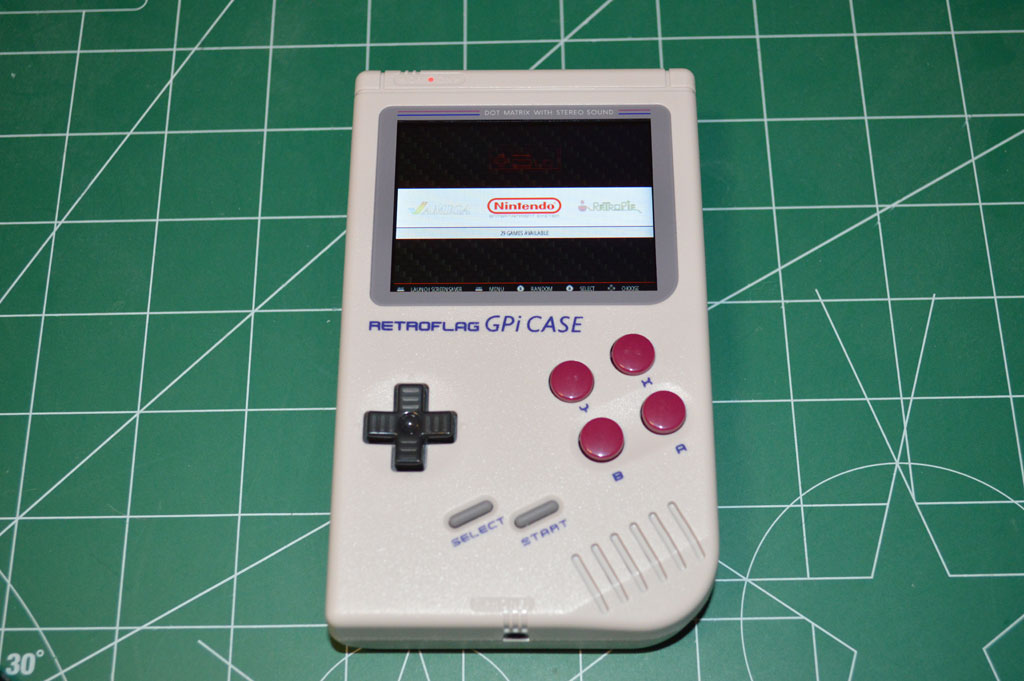
I am here to say, I have been pleasantly surprised at the build quality of this case, and overall functionality! It is really impressive. Here’s my setup, and some basic instructions on how to get it up and running. All of this info is also available on their website, and various other websites, but this is my take.
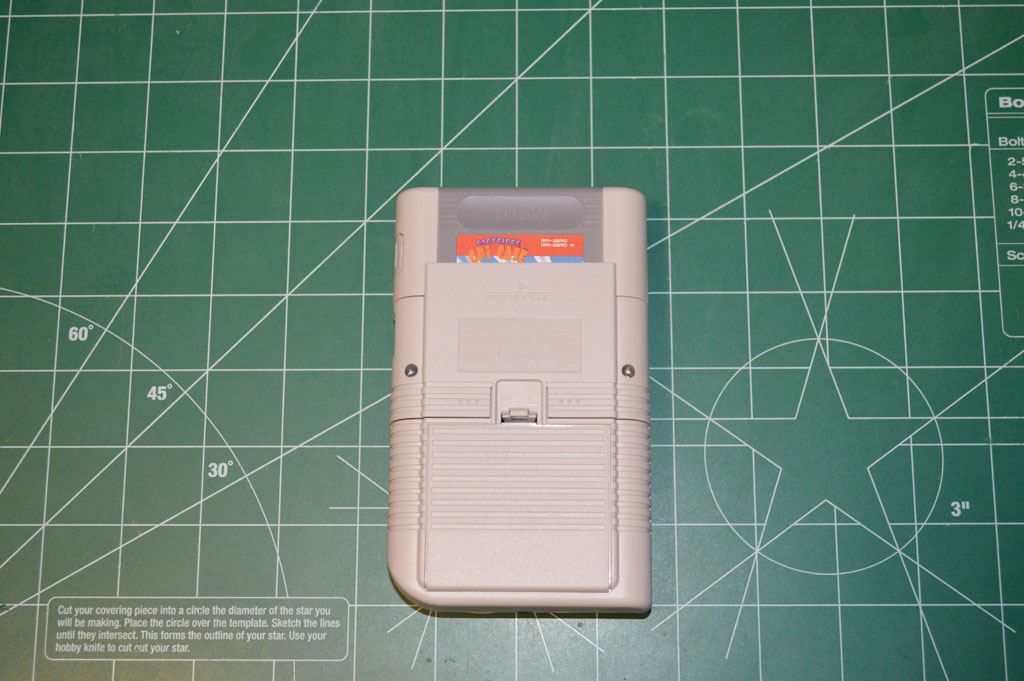
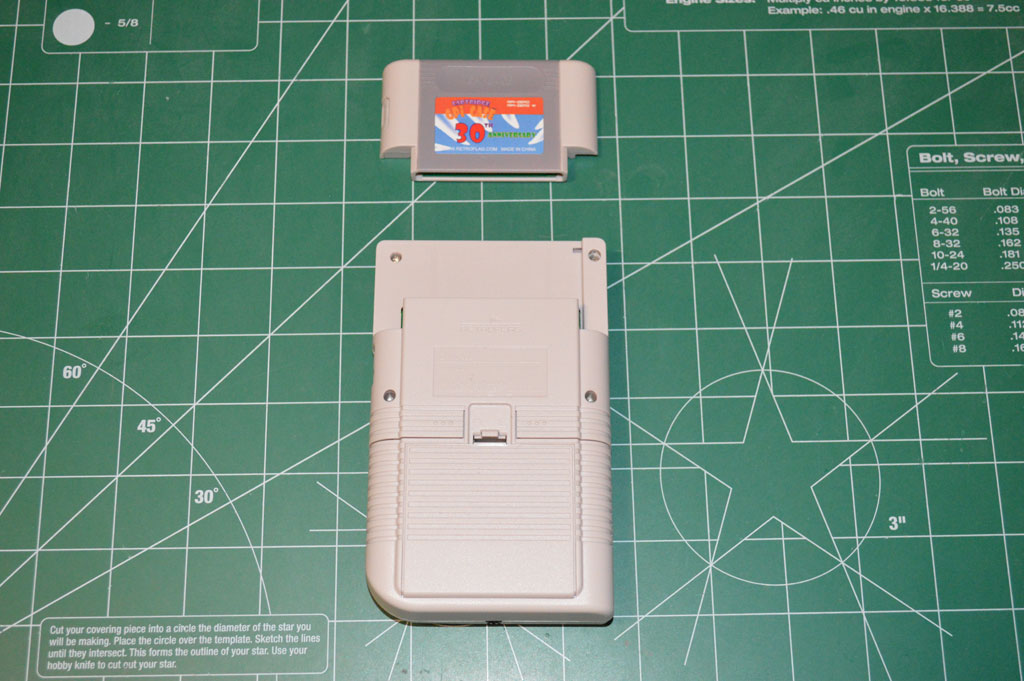
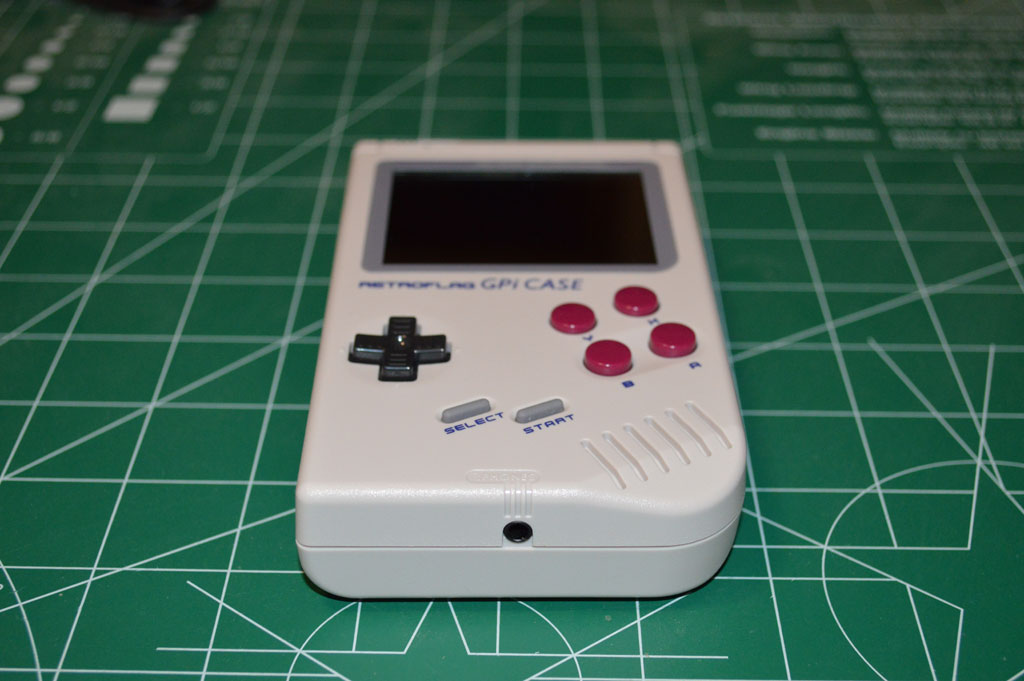
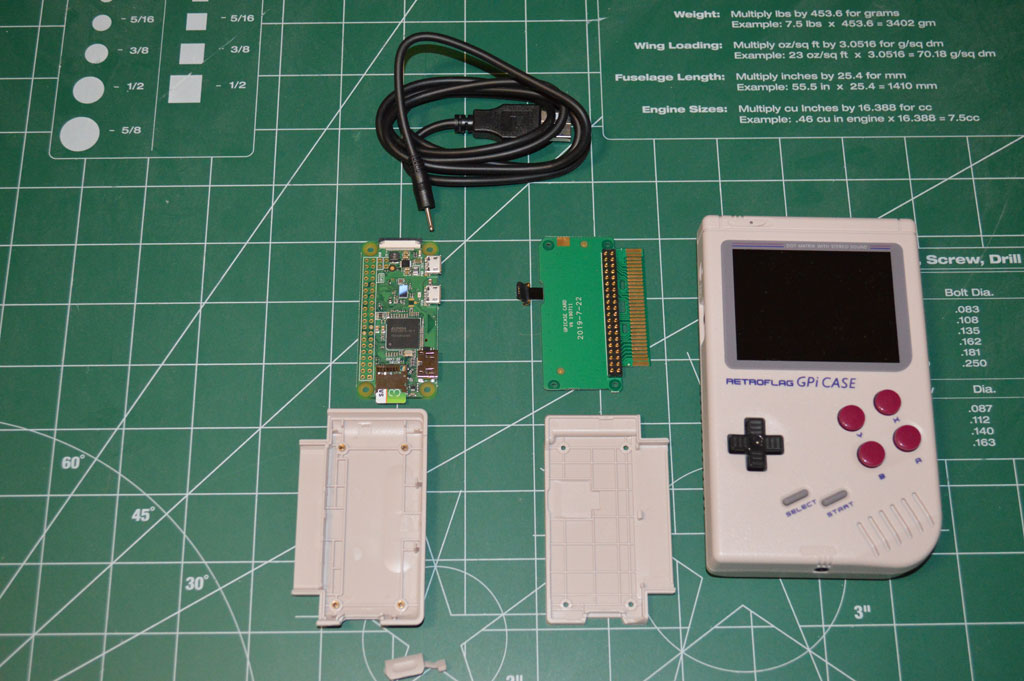
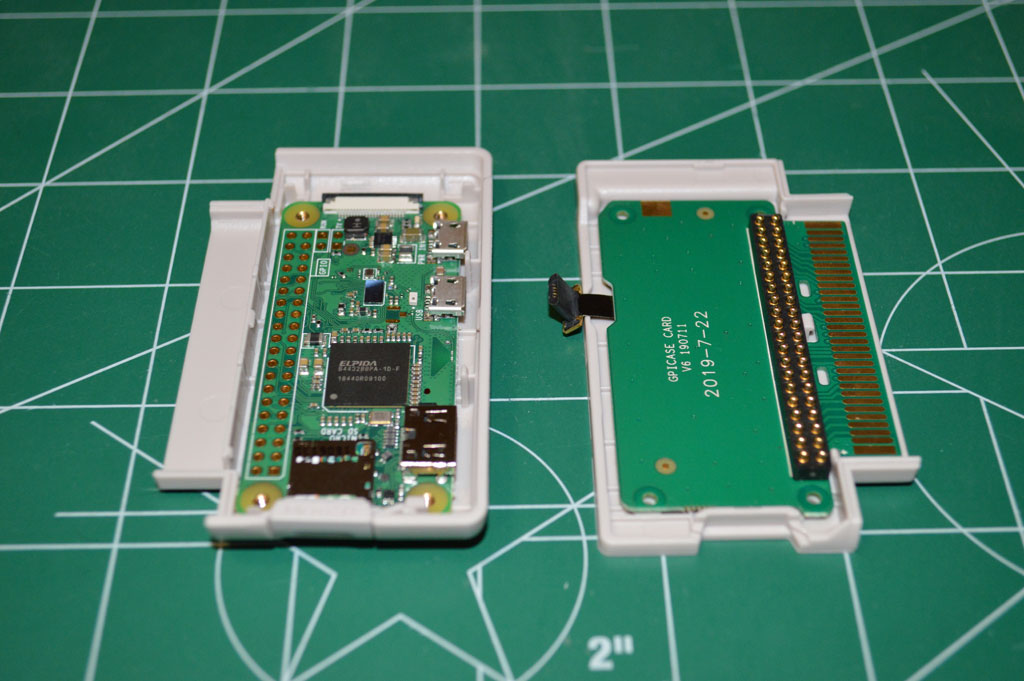
Here’s what comes in the box. You get the main case, the “game cartridge” case that will house the piZero, and a USB power supply. The build quality is really nice, it feels sturdy, and the buttons and D-pad also feel really tight. The pic on the right (below) shows the PiZero which is not included, but I wanted to reference it.

First off, grab the RetroPie image from their website, and use something like Rufus, or your favorite image writing program, and write the ISO file to the SD card for your PiZero.
https://retropie.org.uk/download/ (You want the Pi 0/1 image for the PiZero that is compatible with this case)
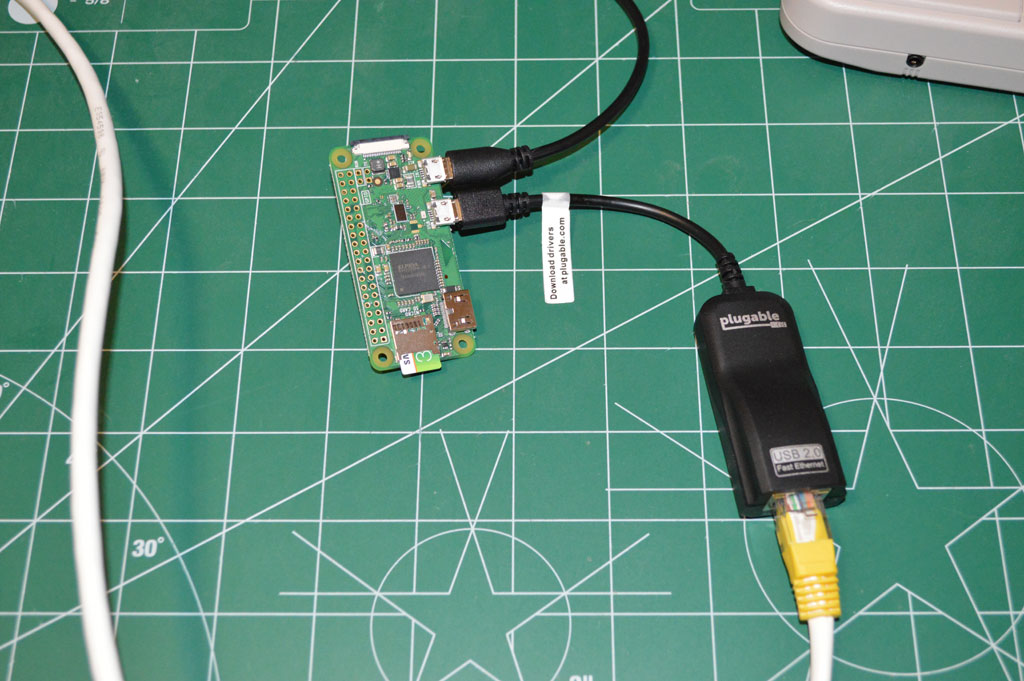
The next step I would recommend is getting the PiZero all setup and configured before you install it in the case, because it is a bit more difficult once it is setup to use the GPIO pins for the display. I found it easier to use the HDMI port wired up to a traditional monitor and keyboard to get the initial setup complete such as enabling SSH and transferring some ROMs over. If you want to use WiFi it is also much easier to set this up now with a keyboard attached because you can’t enter in a password once the piZero is in the GPi case with no keyboard access (there is no onscreen keyboard). I personally did not set the WiFi up because I don’t want that consuming battery life, but you can enable/disable it through the RetroPie settings screen, so this might be an undue concern.
Here is how to setup WiFi on the piZero if you so desire:
Setting up SSH
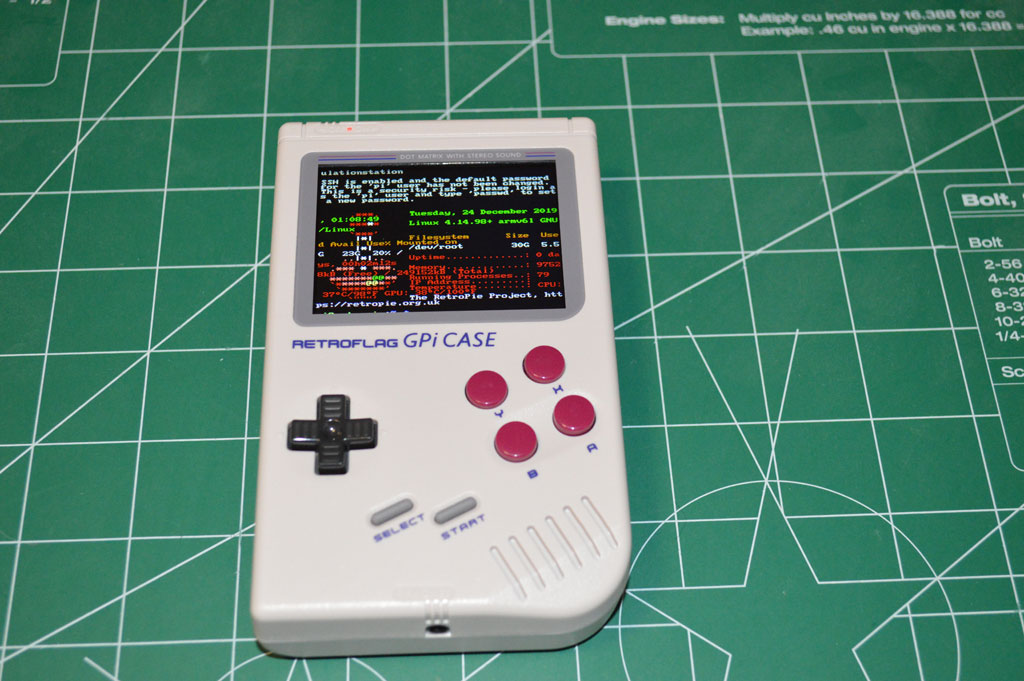
I used a USB-Ethernet adapter and enabled SSH by going into the RetroPi configuration menu, then selecting Raspi-Config. Scroll down to the Interface Options (#5), and then select P2 SSH to enable/disable SSH. It will also take you to a menu to change the default “pi” user password if you want to do that now. Once you have that enabled, you need to restart the piZero for it to take effect.
Once you reboot you should now be able to SSH to your RetroPie setup with Putty or your SSH client of choice to test things out.
Default user: pi
Default password: raspberry
We need to also setup the PiZero to use the GPIO pins for its display, and setup a safe shutdown script for powering down the PiZero when you switch off the power button to avoid file corruption, and for best practices in general.
BEFORE we do that however, let’s move some ROMs over. I use FileZilla’s SFTP setup but you can use any program that supports SFTP (WinSCP is also quite popular). Once you connect to the PiZero, you can copy over your ROMs to their respective console folder which should be:
~/RetroPie/roms/*[console folder] –> (~/RetroPie/roms/nes/ for example).
Now let’s setup the safe shut down script, and display config to prep the PiZero for its new home in the “game cartridge” case.
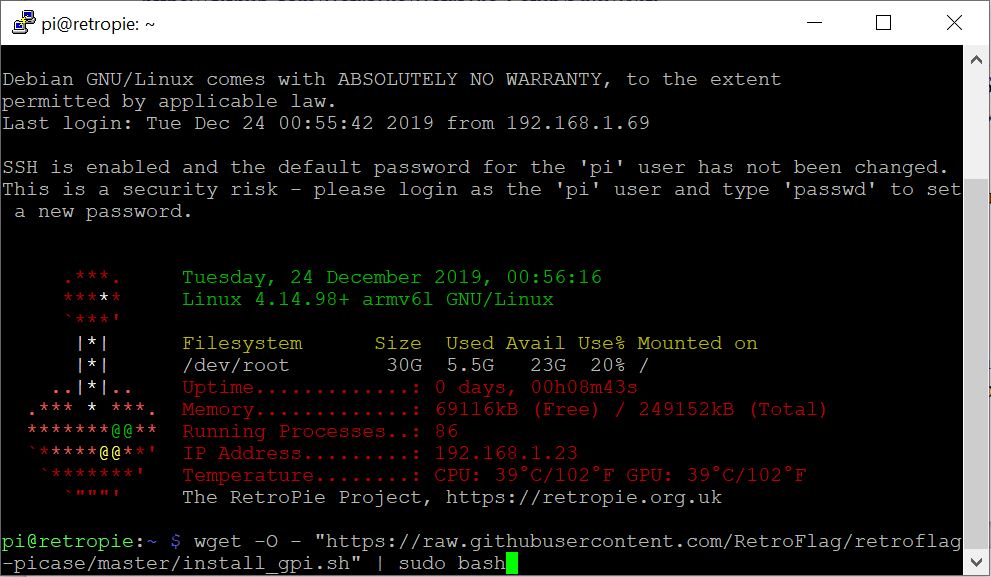
From your SSH terminal root directory, type in:
wget -O – “https://raw.githubusercontent.com/RetroFlag/retroflag-picase/master/install_gpi.sh” | sudo bash
This will use wget to download the safe shutdown script and enable it. That’s it! This script will reboot your pi once it is completed.
Setting up the display
Now to set the display to use the GPIO pins, go to retroflags download page at http://download.retroflag.com/ and click on the GPi Case download link. That should save a file called GPi_Case_patch.zip to your downloads directory. Unzip it.
Now we need to put this unzipped folder onto the SD card, so power down your PiZero and remove the SD card and connect it to your computer with whatever SD reader you used to create the initial boot image. Now copy the GPi_Case_patch folder over to the root SD folder. Go into that folder on the SD card and run “install_patch.bat” to enable the GPIO display functionality.
Put the SD card back in your PiZero and let’s assemble the case!
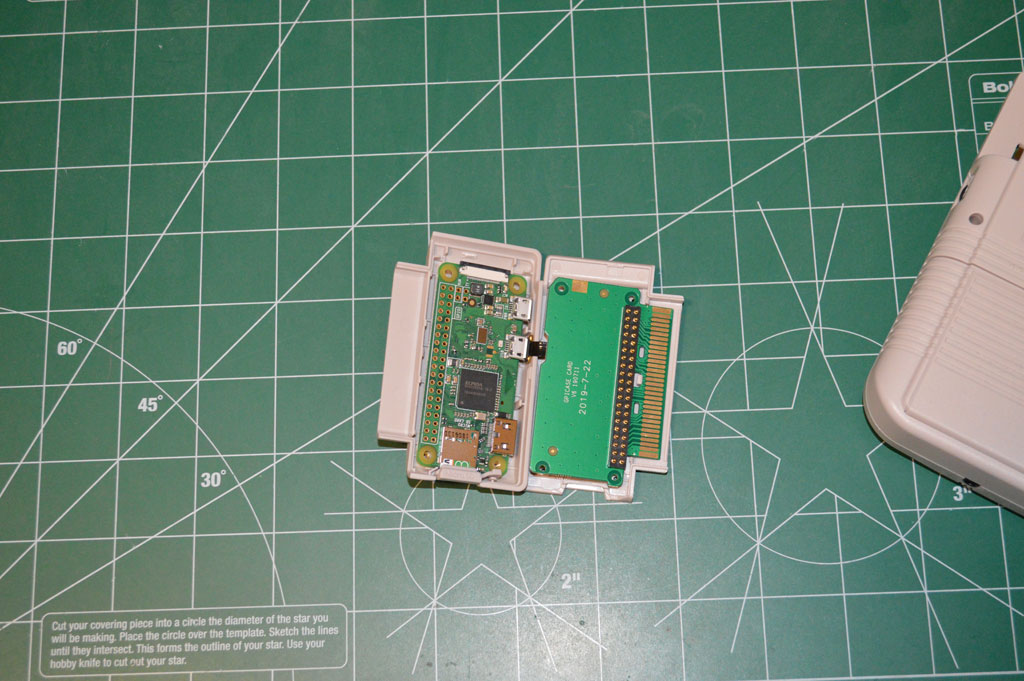
The PiZero fits into the “game cartridge” case like so:
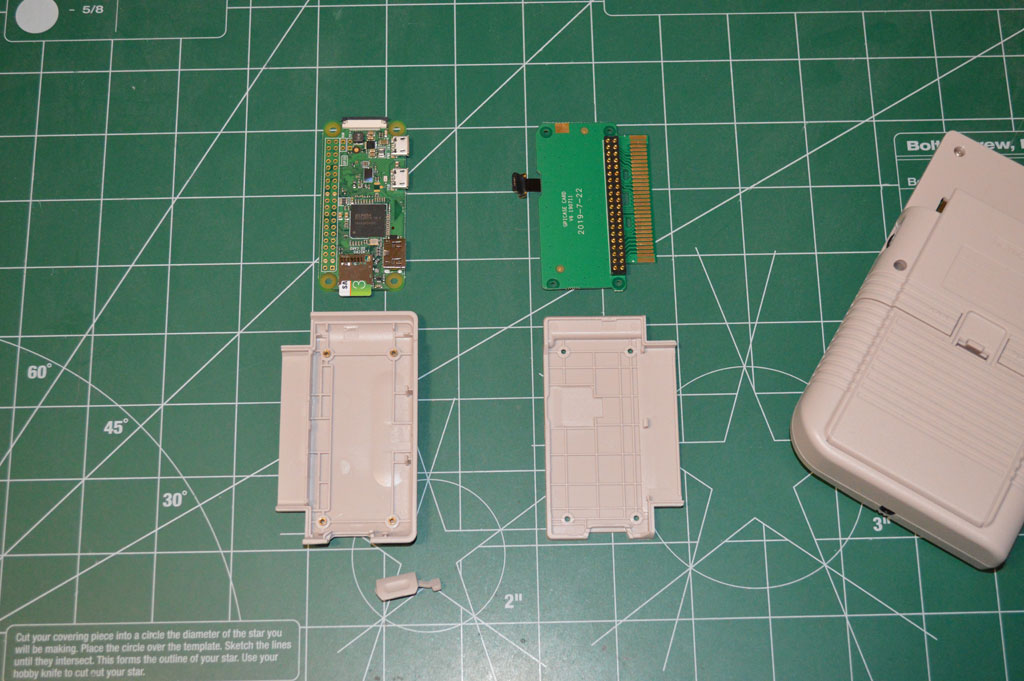
Plug the microUSB plug into the PiZero, and make sure the rubber SD card cover is fitted and place the top of the “game cartridge” over the PiZero making sure everything lines up and is seated correctly, and snap it together. If it resists, chances are something is not lined up properly, do not force it!

We’re almost done! This case is really simple to assemble. Slide the “game cartridge” into the cartridge slot, plug in the USB power adapter, and slide the top power button to the “on” position (to the right).
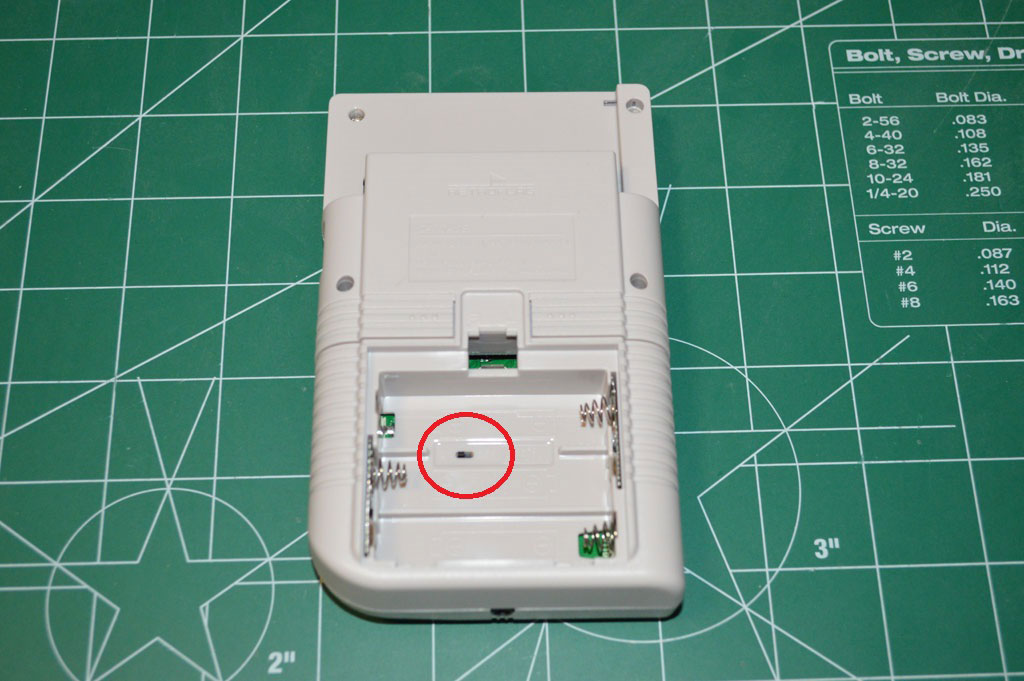
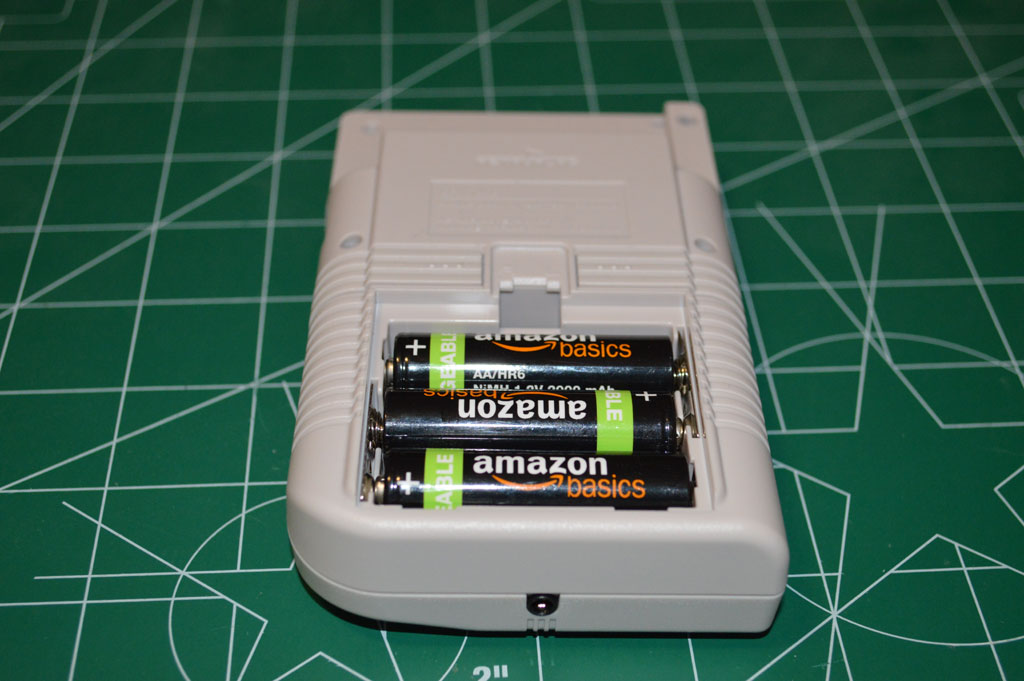
You can also use 3 AA batteries in lieu of the power adapter. While we’re talking about the battery compartment, make sure to slide the switch in the battery compartment to “on” (left position) to allow safe shutdown (via the script we installed earlier).
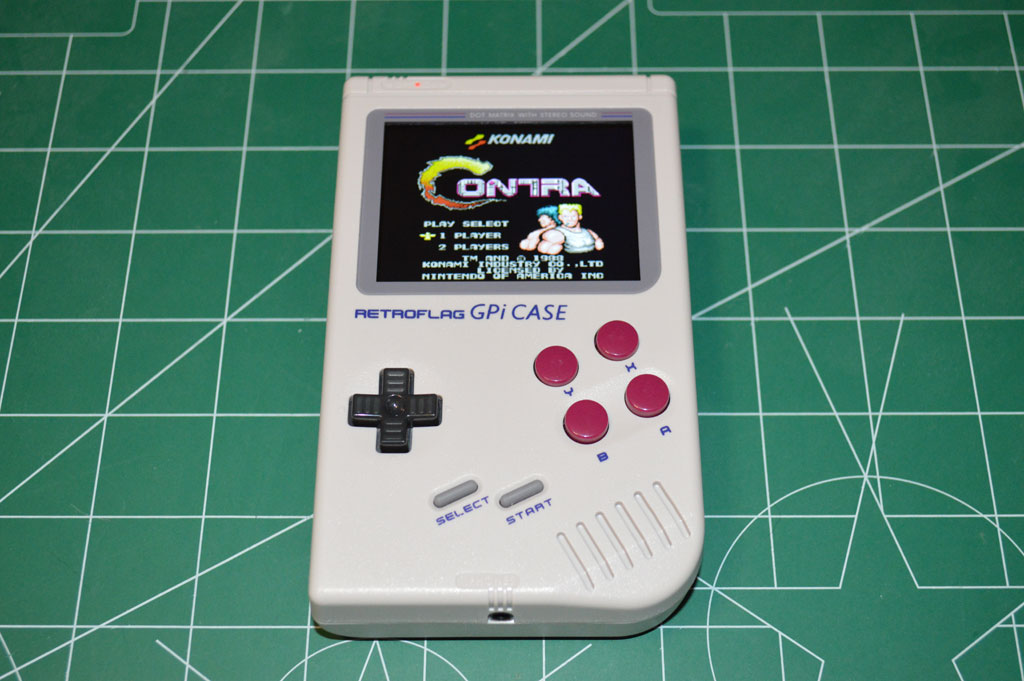
If everything has gone according to plan, you should see your GPi case display come one and watch the boot sequence, ending in the RetroPie menu. If you transferred ROMs over, your console(s) of choice should now be available. The RetroPi only shows console options when it detects at least one ROM available for them.


Once you have played some nostalgic games, it’s time to test out the shutdown script. Slide the top power button to the off position (to the left), and you should see the shutdown sequence start to scroll down the screen, ending with the unit powering off.
Congrats! You have setup your super awesome retro hand held Raspberry Pi based gaming console!
Leave a comment below if you have any questions or feedback. Thanks!


Recent Comments